The Industry’s Most Trusted Roof Heating Solutions It’s that time of year again. Ice and snow are causing hazardous conditions everywhere, including our homes and businesses. One area of your home you may forget about this winter is your roof.…
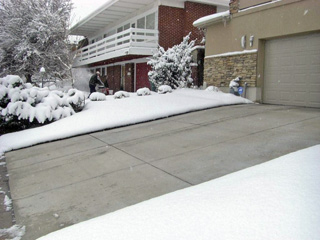
Turn Winter into a Wonderland with a Heated Driveway As the first snowfall of winter’s 2019-2020 campaign begins to fall, it’s not uncommon to dream about owning a radiant heated driveway system. After all, who can blame you for wanting…
Electric Panel Heaters and Fog-free Bathroom Mirrors Warmzone continues to provide customers with the latest innovative radiant heating and home amenity products. The latest additions to Warmzone’s renowned product offerings are the series of electric panel heaters and the stunning…
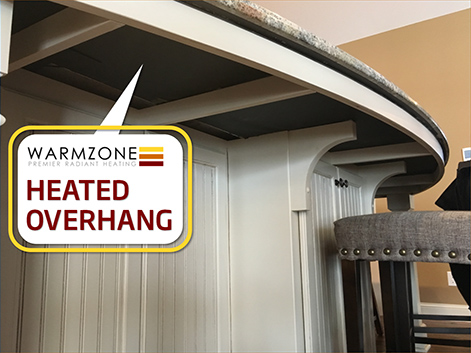
Introducing Innovative Stick-on Countertop Heaters Add a new level of elegant comfort to your home’s most popular gathering place – the kitchen. Warmzone’s countertop heaters with FeelWarm® technology feature flexible low-voltage heating panels that conveniently stick to the bottom of…
Warmzone has the Products, Expertise and Services Homeowners looking for the best radiant heat solutions for their new home or remodel need look no farther than Warmzone. With one of the largest selections of trusted radiant heat systems available, customers…
Warmzone Professionals Take Care of the Leg Work Installing a driveway heating system represents a significant investment for homeowners. Although the benefits of a heated driveway are impressive, the thought of installing an automated snow melting system may seem somewhat…
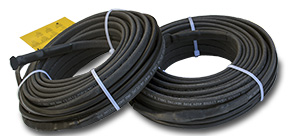
Warmzone Makes it Easy for Installers There are many options when it comes to installing a driveway heating system. While radiant heated driveways can be installed to keep entire driveways clear of snow and ice, the systems can also be…
It’s time for your spring roof and gutter inspection. According to experts, homeowners should inspect their roofs, gutters and downspouts at least twice a year. Roofing pros suggest checking it during spring time and in late fall, in preparation for…
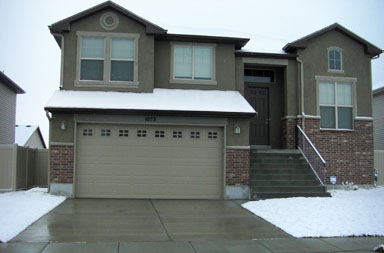
The weather is warming up and so is the construction season. Perhaps now is the time to install a heated driveway or roof deicing system so you’re prepared for next winter. Radiant heated driveways provide fully automated, maintenance free snow…
The Benefits of Installing Radiant Heat During the “Off” Season Although you may feel that you’re still firmly in the cold clutches of Old Man Winter, take solace in the knowledge that spring is just around the corner. And with…
We use essential cookies to ensure the site functions properly. We also use optional cookies to improve your experience. You can see our cookie policy for more information and manage your preferences.
Functional
Always active
The technical storage or access is strictly necessary for the legitimate purpose of enabling the use of a specific service explicitly requested by the subscriber or user, or for the sole purpose of carrying out the transmission of a communication over an electronic communications network.
Preferences
The technical storage or access is necessary for the legitimate purpose of storing preferences that are not requested by the subscriber or user.
Statistics
The technical storage or access that is used exclusively for statistical purposes.The technical storage or access that is used exclusively for anonymous statistical purposes. Without a subpoena, voluntary compliance on the part of your Internet Service Provider, or additional records from a third party, information stored or retrieved for this purpose alone cannot usually be used to identify you.
Marketing
The technical storage or access is required to create user profiles to send advertising, or to track the user on a website or across several websites for similar marketing purposes.