ClearZone Snow Melting Systems
Snow melting systems may not be the first thing on your mind when the weather is beautiful and warm, but spring is a great time to install a snow melting system. There are a lot of options when it comes…
Read post Snow melting systems may not be the first thing on your mind when the weather is beautiful and warm, but spring is a great time to install a snow melting system. There are a lot of options when it comes…
Read post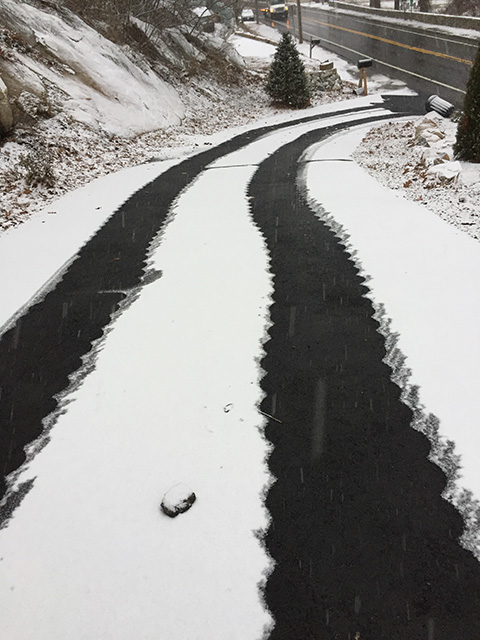
Efficient and Easy-to-Customize Warmzone Radiant Heat Systems Snow melting systems are an affordable investment in safe, convenient warmth for any home or business. When purchasing a radiant snow meting system, the first and possibly most important step is ensuring that…
Read post
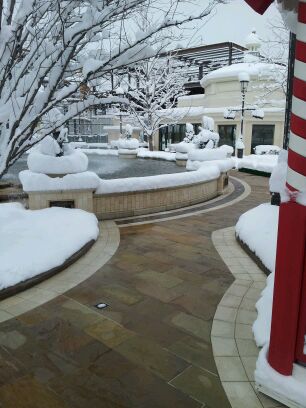
Turn Winter into a Wonderland with a Heated Driveway As the first snowfall of winter’s 2019-2020 campaign begins to fall, it’s not uncommon to dream about owning a radiant heated driveway system. After all, who can blame you for wanting…
Read postWarmzone Professionals Take Care of the Leg Work Installing a driveway heating system represents a significant investment for homeowners. Although the benefits of a heated driveway are impressive, the thought of installing an automated snow melting system may seem somewhat…
Read post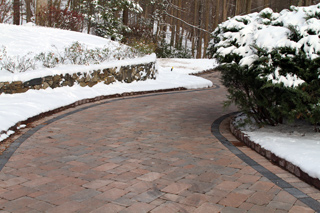
Warmzone Makes it Easy for Installers There are many options when it comes to installing a driveway heating system. While radiant heated driveways can be installed to keep entire driveways clear of snow and ice, the systems can also be…
Read post
The weather is warming up and so is the construction season. Perhaps now is the time to install a heated driveway or roof deicing system so you’re prepared for next winter. Radiant heated driveways provide fully automated, maintenance free snow…
Read post
The Benefits of Installing Radiant Heat During the “Off” Season Although you may feel that you’re still firmly in the cold clutches of Old Man Winter, take solace in the knowledge that spring is just around the corner. And with…
Read post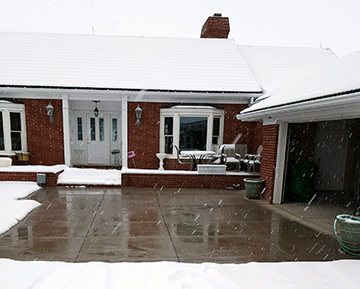
Explore the Many Options for Heating Your Driveway For some homeowners who are considering the installation of a heated driveway, discovering the initial price of a snow melting system can be like getting hit in the face by an errant…
Read post
Custom Heated Driveways, Sidewalks and more Warmzone has been designing snow melting systems for a wide variety of applications for almost two decades. From commercial parking structures and residential driveways to sidewalks, steps and even runaway truck ramps, we’ve provided…
Read post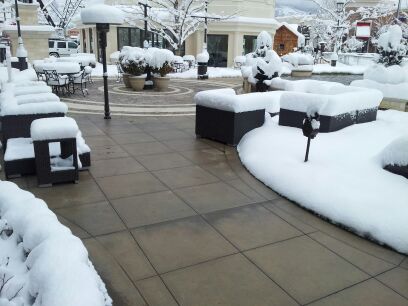
A Look Behind the Making of a Great Snow Melting System Radiant heat snow melting systems are easy to customize and can be installed in just about any time of medium and application. Snowmelt systems are versatile and can be…
Read postWe use essential cookies to ensure the site functions properly. We also use optional cookies to improve your experience.
You can see our cookie policy for more information and manage your preferences.