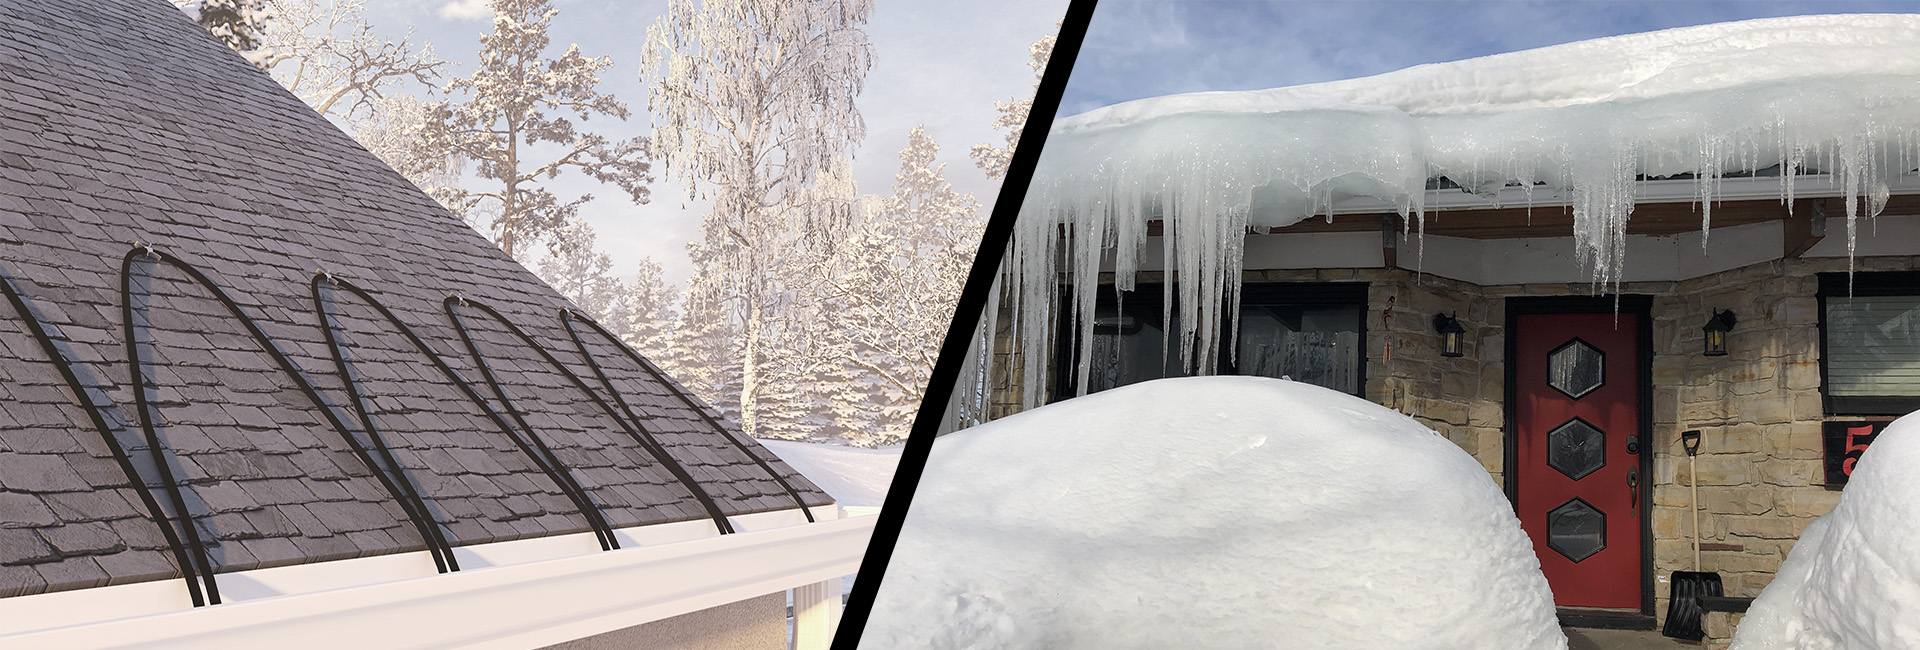
Meet Winter Head on with a Radiant Snow Melting System
You’ve no doubt heard about El Niño this year and the predictions of all the so called “weather experts”. Well, the truth is, we can never fully know what Mother Nature will bring us each year. Sure, we make the most educated guess possible, but it’s still just that – a guess.
So don’t let the doomsday sayers intimidate you into believing you’ll be lucky to escape winter alive this year. Halloween may be coming, but there’s no reason to be spooked by winter too. Certainly, it’s good to be prepared and keep some important items on hand for those times when you can’t make it to the store for a day or two, but chances are that winter will come and go, and spring will greet you with a smile – just like it did last year, and the year before.
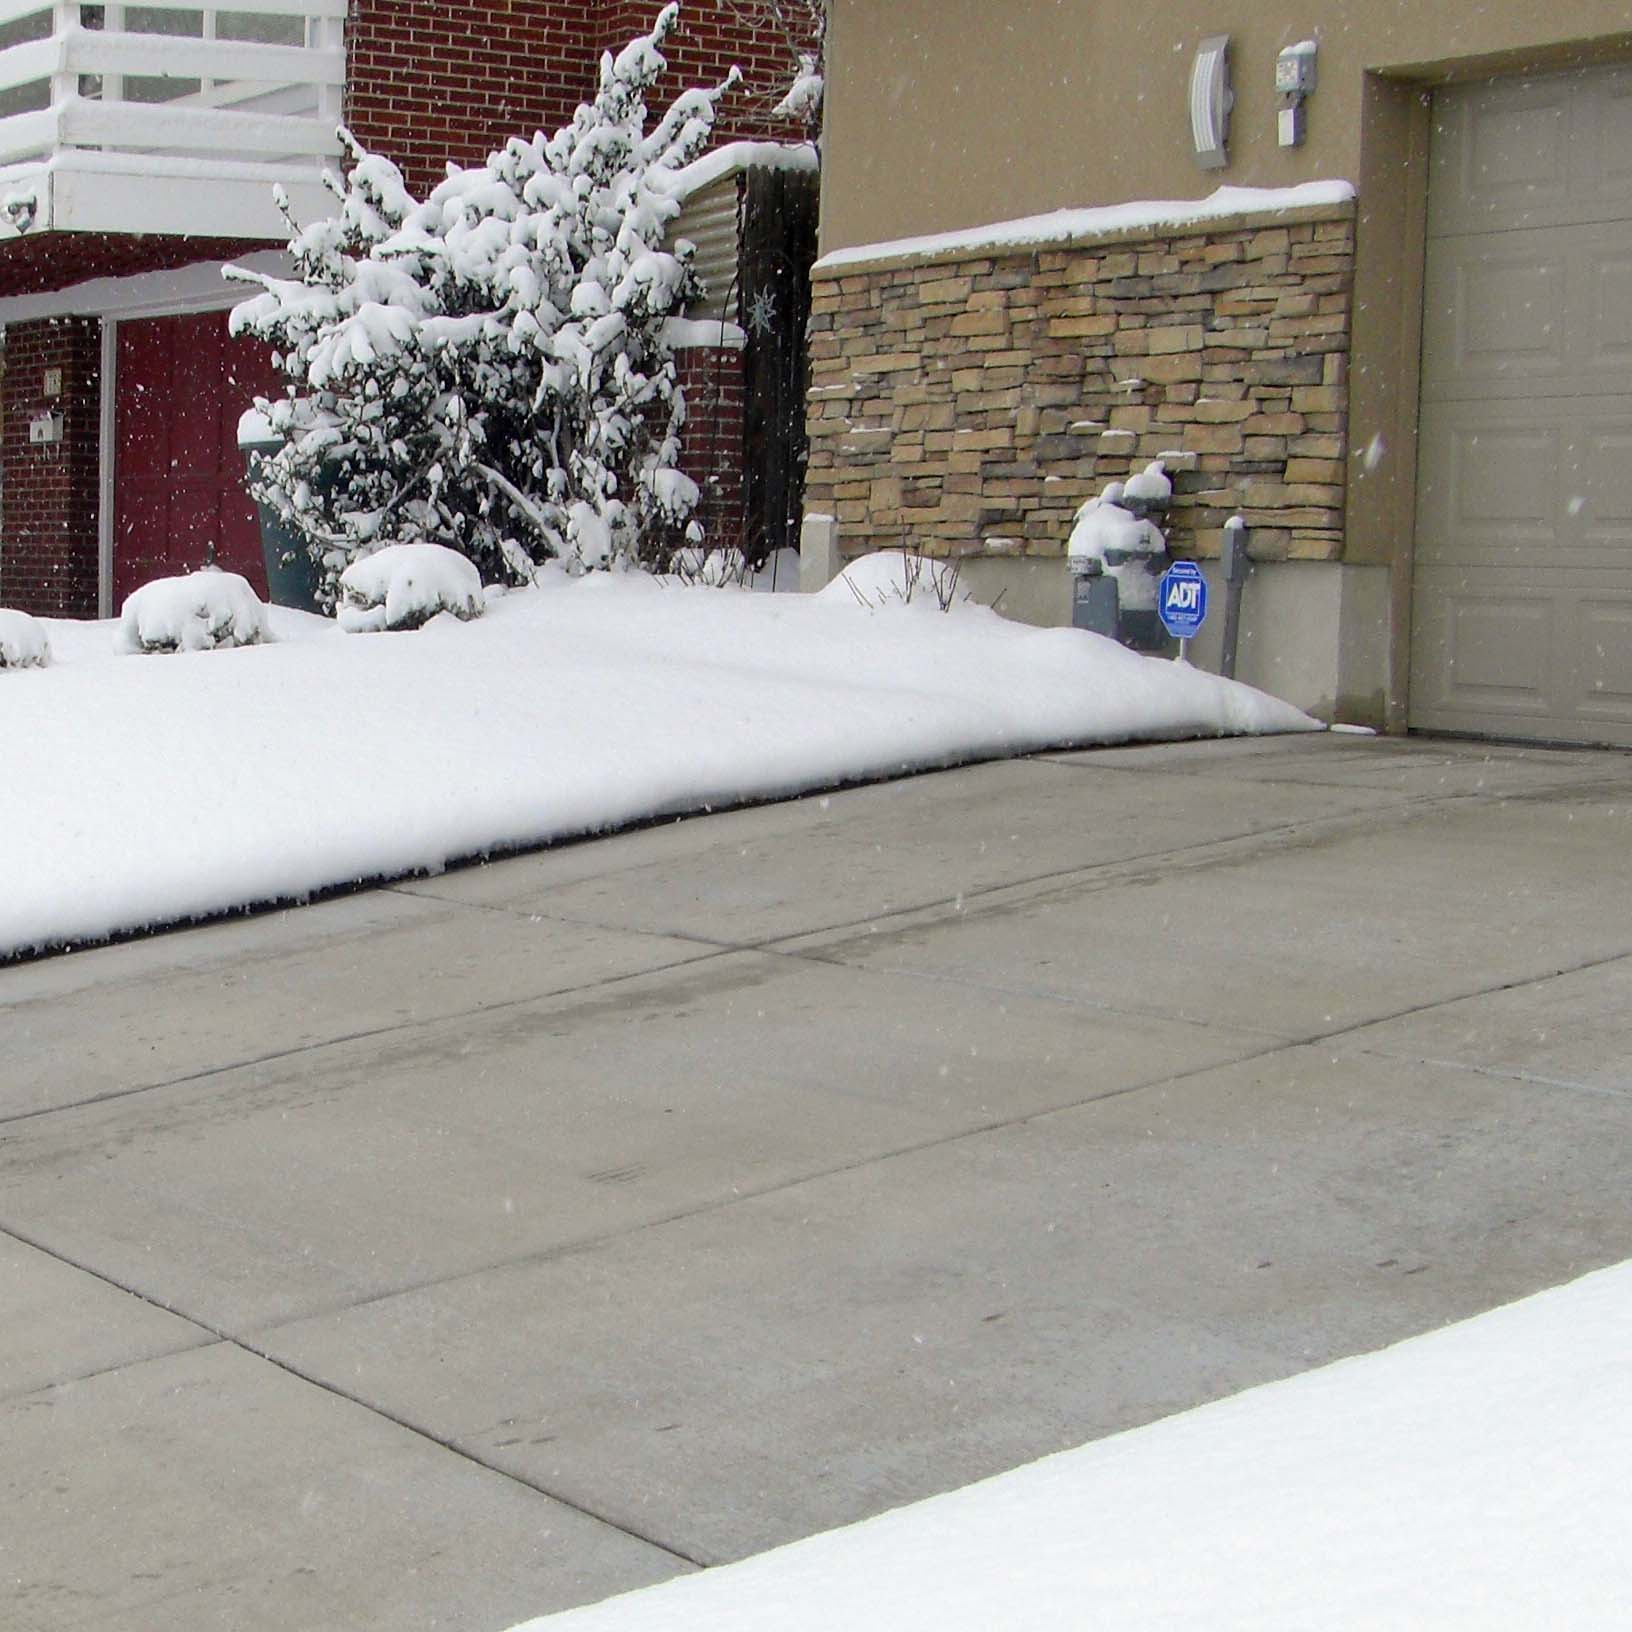
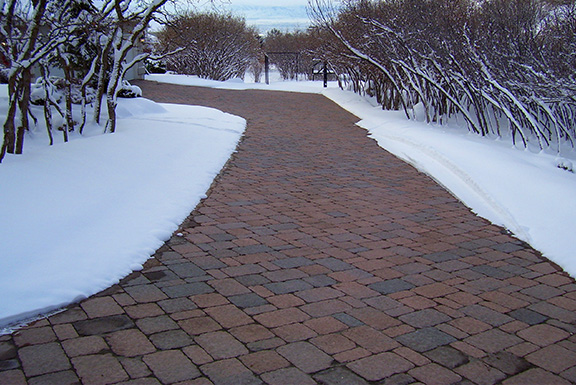
But how you choose to deal with winter is up to you. For homeowners with steep driveways or business owners with outdoor steps, ramps and busy customer access points, installing a heated driveway or snow melting system is a pretty obvious solution. Radiant snow melting systems are fully automated and operate only when needed. That means that regardless what day or time the snow falls, the systems will respond to keep your driveway or walks clear of ice and snow during all of winter’s cold assaults.
Many consumers have opted to forego stocking up on salt and other snow melting chemicals prior to winter. Some have even been swayed not only by the convenience and effectiveness of radiant heat, but because of the added benefit to the environment. Salt and snow melting chemicals, while somewhat convenient in melting snow, are not so friendly on the surrounding landscape. The adverse environmental effects of salt and snowmelt chemicals leave scars year round. When spring arrives, the bordering grass and shrubs often reveal the ugly scars from the repeated use of snow melting chemicals during the winter.
But the greatest advantages of radiant snow melting systems are their convenience, clean, silent operation and round-the-clock reliability. And electric snow melting systems are maintenance free, saving your back from shoveling and your head from aching.

Warmzone radiant snow melting systems are easy to customize and install. In addition to offering the industry’s most reputable heat cable and system components, Warmzone also includes professional system design and installation support services. When you work with Warmzone, you are partnering with experienced professionals who see your project through – from start to end. After all, radiant heat is a considerable investment in your home, so it makes sense to deal with the best, most trusted experts in the field.
Contact a radiant heat professional at Warmzone today (888.488.9276). Warmzone also offers free installation training. For more information about our training courses, call us at 801.948.7545.
Avoid These Common Installation Mistakes!
Important Do’s and Dont’s when Installing Radiant Heat
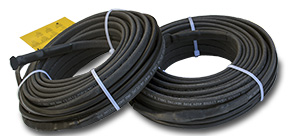
Record Resistance Values in Warranty Card – First and foremost, keep your warranty valid by following the installation instructions and using a megohmmeter to measure the cable readings before, during and after the installation process as outlined. (The megohmmeter is a special type of ohmmeter used to measure the electrical resistance of insulators.) Measuring the cable’s ohm reading during the installation process provides the required warranty information and can reveal if any cable has been damaged during the install.
| ► | Upon receiving the heat cable, check the ohm value shown on the cable tag. Write this figure in the space provided on the warranty card. |
| ► | Measure the ohm reading of the cable and record the results in the space provided on the warranty card. |
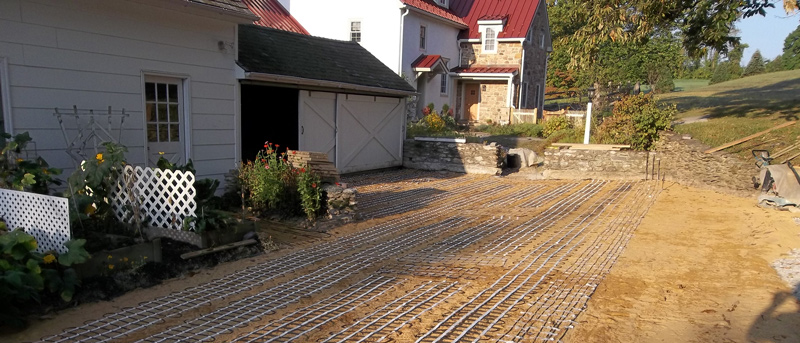
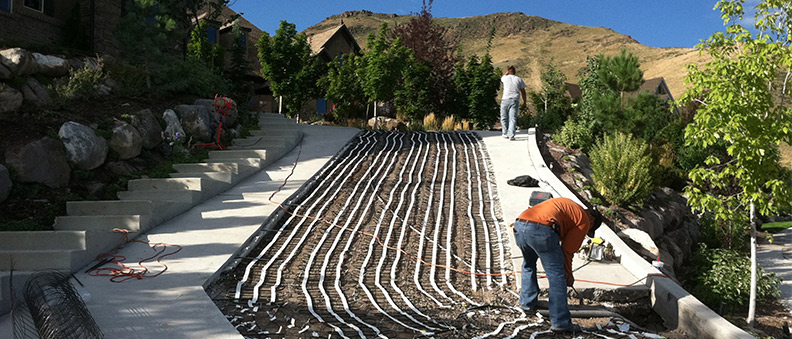
| ► | Lay the cable out and secure it so that it is ready to be embedded (under concrete, asphalt or pavers). Measure the cable’s ohm reading prior to being embedded. Record this value in the space provided on the warranty card. |
| ► | Apply the top layer and measure the ohm reading. Record the results in the space provided on the warranty card. |
| Cable Installation Tips | |
| ► | Always maintain proper cable spacing. (Cables should be spaced no less than 2 inches apart (center-to-center) and no more than 4 inches, center to center. Minimum spacing is 2 inches. Maximum cable spacing is 4 inches.) |
| ► | Never allow the cables to cross or touch each other. |
| ► | Never cut the heating cable. |
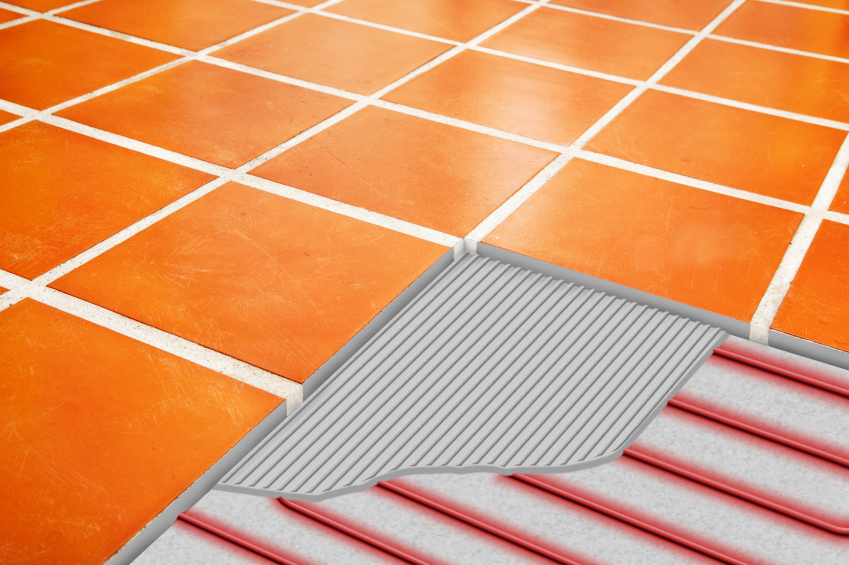
| ► | In concrete and asphalt applications, the installed heating cable should be 2 inches from the finished surface. (The heating cable should never be resting on the ground prior to the pour.) |
| ► | Never run heating cable through an expansion joint. (Make sure the joint is tooled or cut NO deeper than 1¼-inches. The cable must be ¾ to 1-inch below the bottom of the joint.) |
| ► | Do not flex or strain the cable splice by pulling on the cable. All of the cable must be embedded, including the entire splice and 6-inches of cold lead. |
| ► | Avoid kinking or bending the cable sharply (which causes the insulation to “bubble” and pull away from the cable). |
| ► | When installing heat cable in paver applications, make certain that there is ½-inch of compacted paver sand or stone dust on top of the heating cables or mats. (Cables must be completely encased with no air gaps.) |

Warranty card for snow melting system.
Do not hesitate to take advantage of Warmzone’s personal installation support services. We have dedicated experts on hand to assist installers, so if you have any questions during the installation process, our electricians and designers are happy to assist you. Warmzone also offers free installation training, both in-house as well as training via web seminar. It is our goal to ensure that our customers are happy and that each system is installed correctly and performing as intended.