You might be like many of us and are afraid to even say the word recession. If we say it then we’ll have to admit it’s really here and our spending choices have to be even more prudent. Economic downturns such as the one we find ourselves elbow deep in, dictate wiser, well-researched and more cost-effective purchases. The weak dollar and tighter credit allowances no longer allow the penny-pinching consumer the luxury of frivolous spending sprees. Each purchase needs to count and provide an investment for the future.
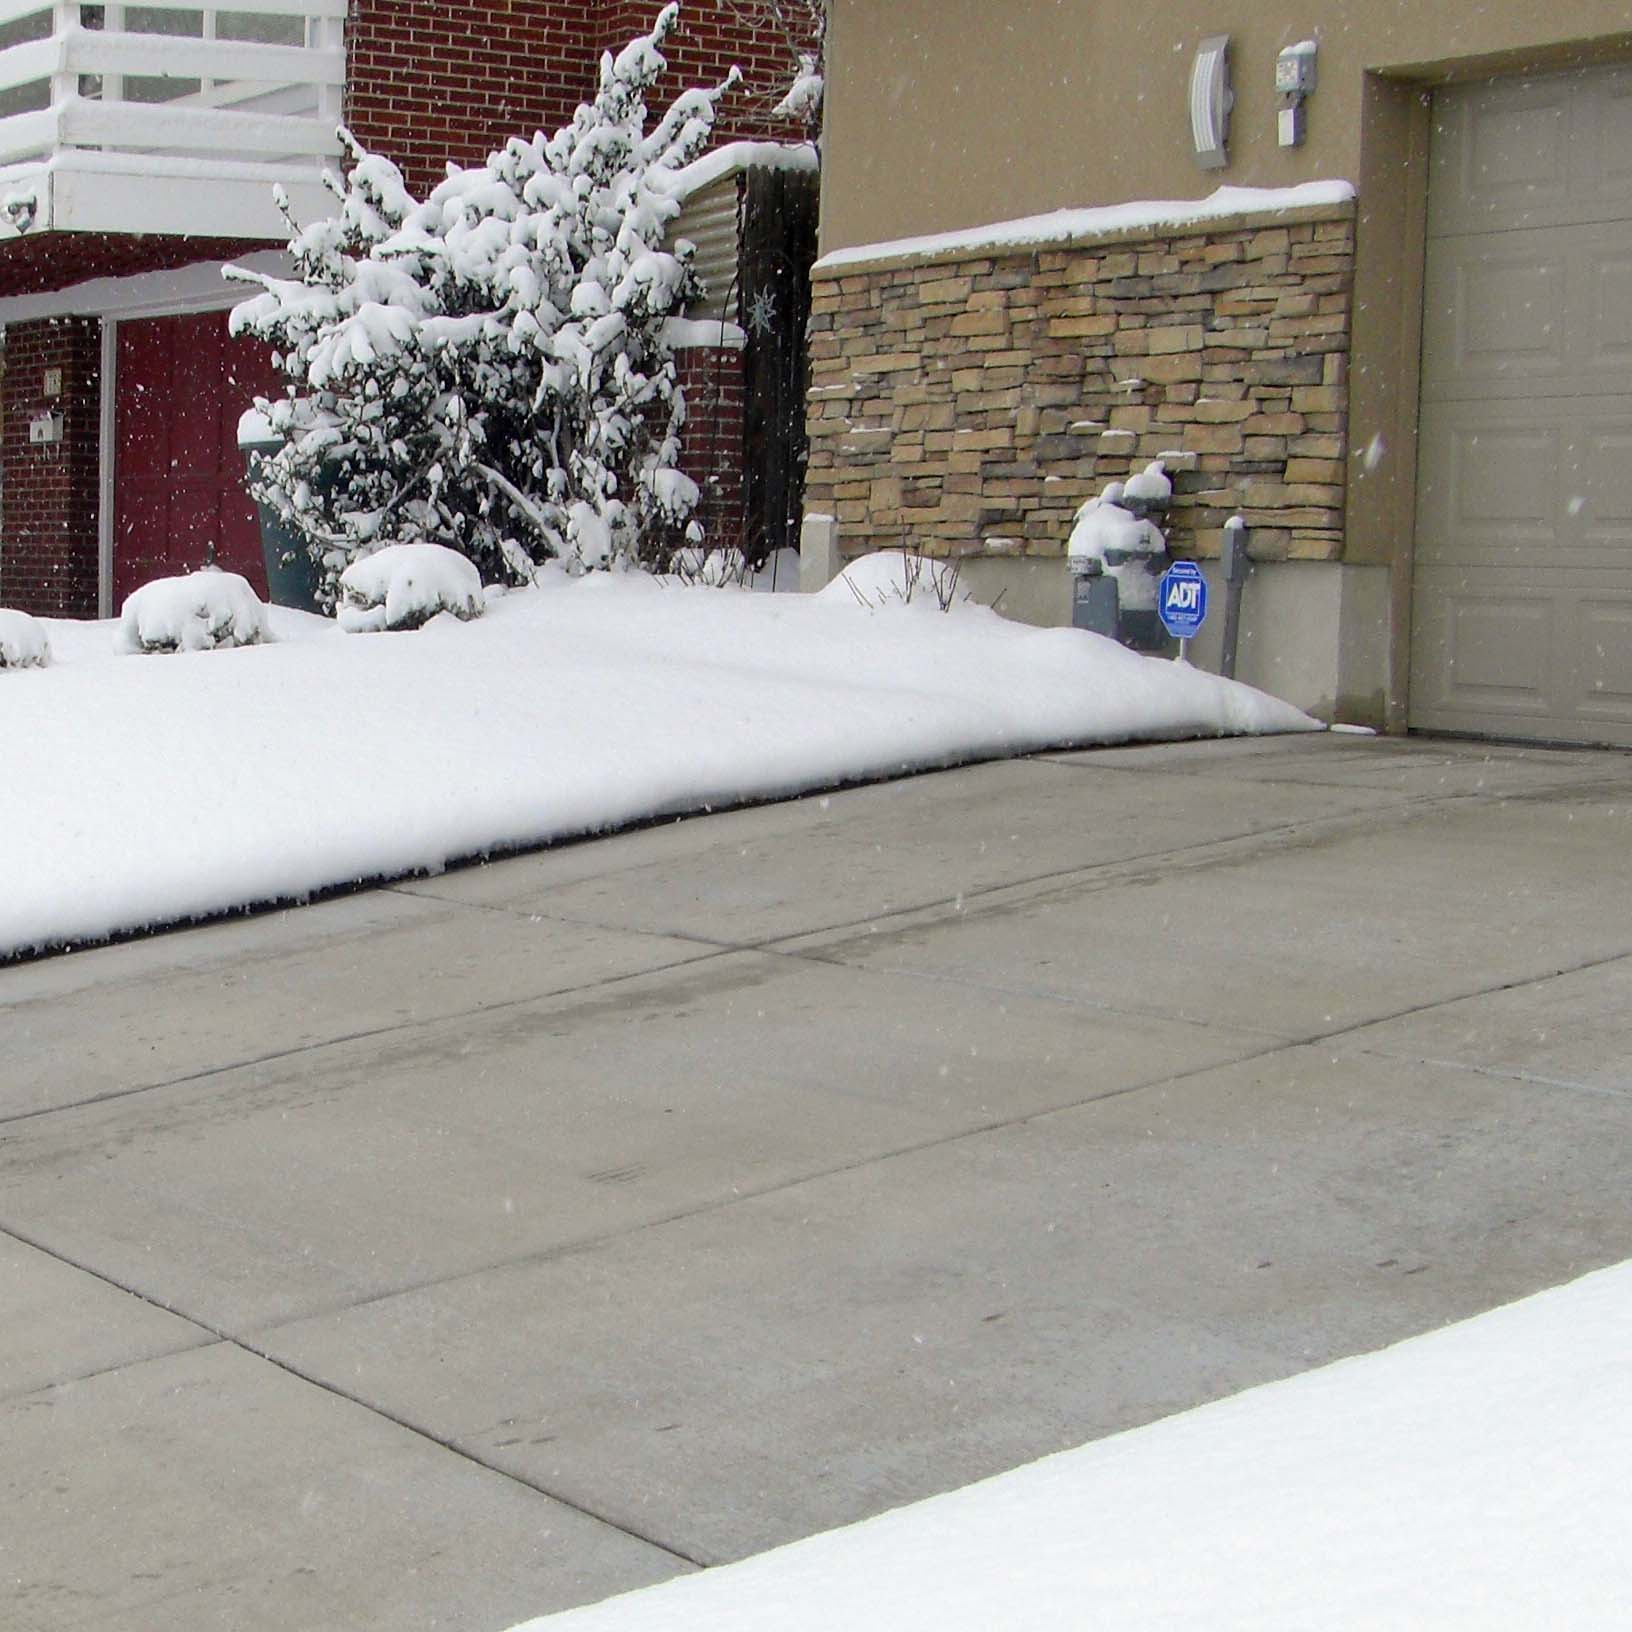
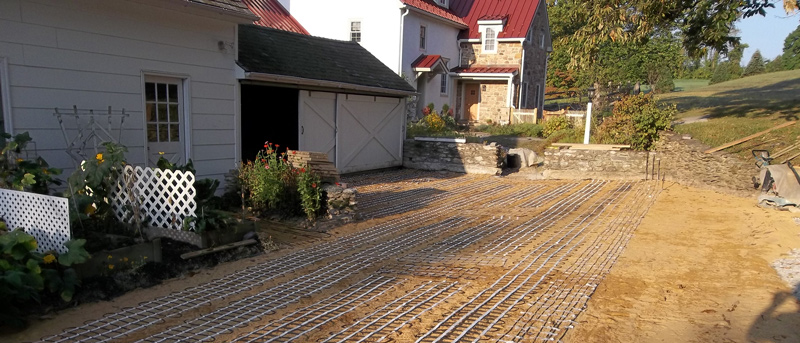
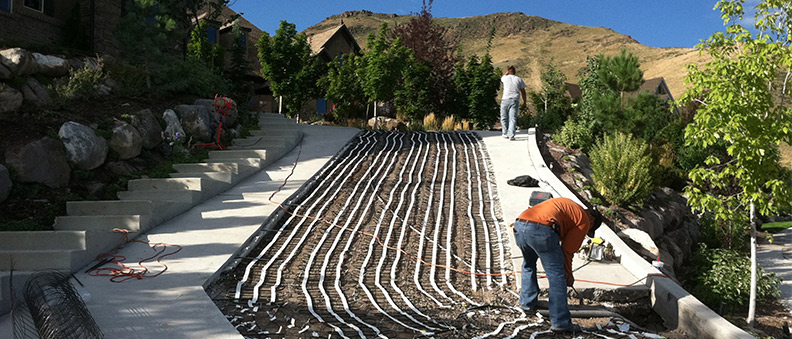
A cost-effective investment and smart way to add value to your home is by installing a heated driveway (radiant snow melting system). Once installed, an affordable radiant heated driveway provides low operation costs in the long run, helping you lower your bottom line on home expenses. A heated driveway with an area of 300 square feet operates for under 50-cents per continuous hour of operation. Snow melting generally only takes a few hours to clear your driveway when a storm hits.
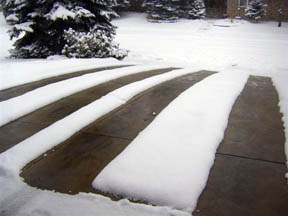
Driveway heating is an investment that has demonstrated and visible results. Not only does it allow you some free time with your family – not to mention saving your back from shoveling duties – but it is a proven way to protect the life of grass and surrounding vegetation by eliminating the use of salt and harsh snow melting chemicals. It also extends the life of your driveway by defending it from chemicals and other traditional abrasive snow removal methods.
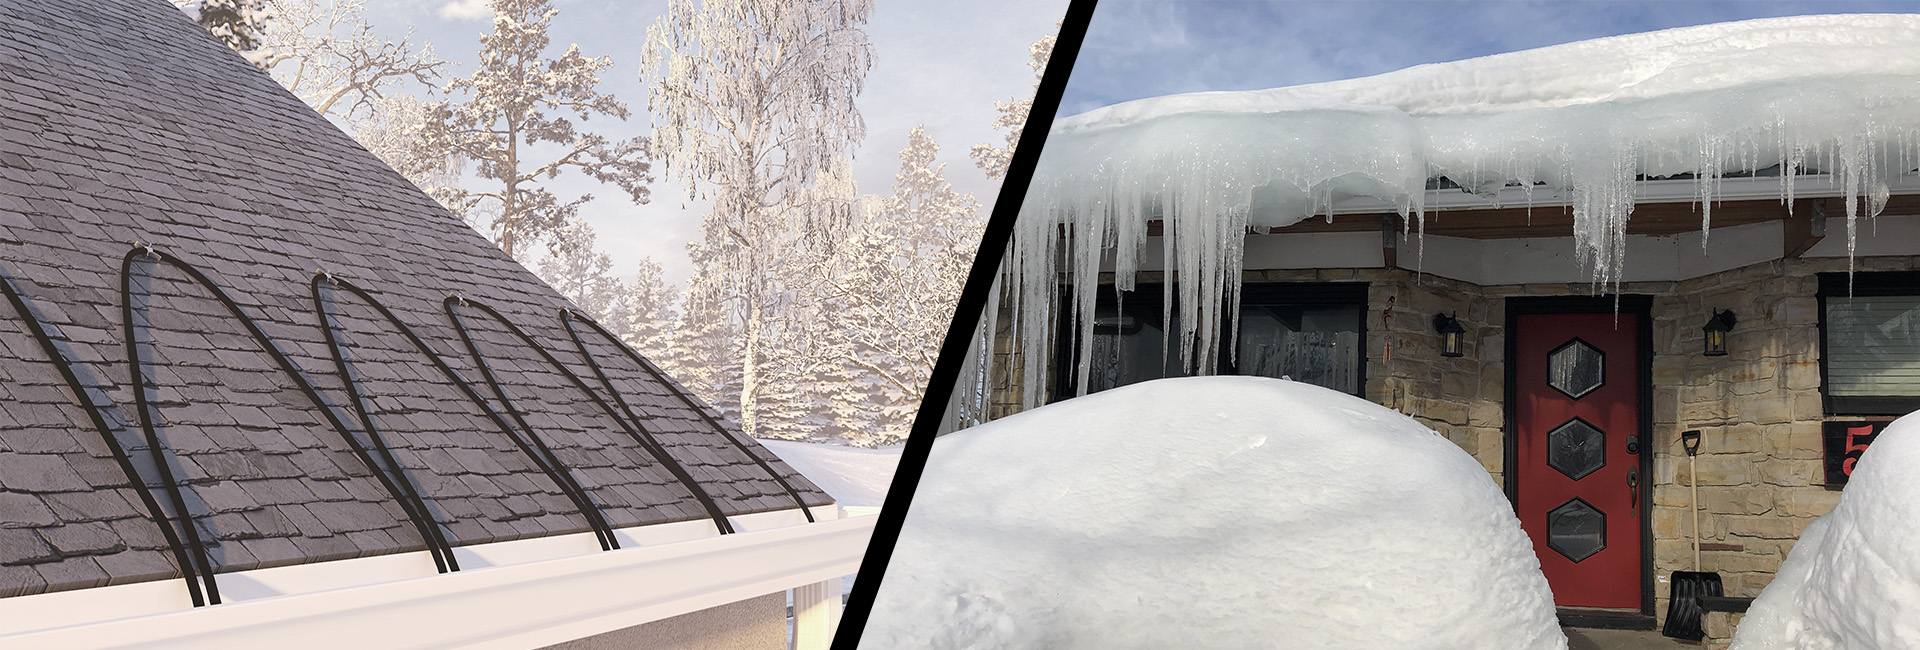
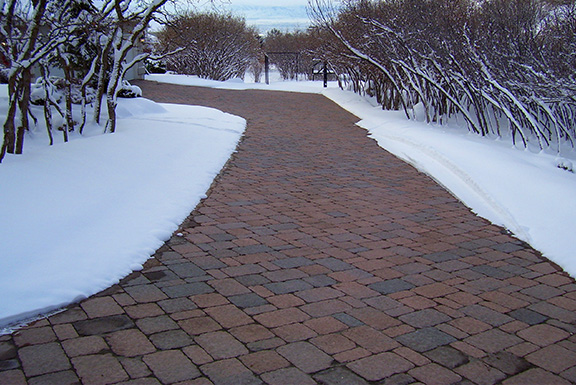
Radiant heated driveways are fully automated so you can stay inside where it’s warm and count the dollars you are saving as you watch the snow fall. An automatic snow sensor signals the snowmelt system’s controller when precipitation is detected and temperatures are below 39° Fahrenheit. The controller then sends power to the embedded heat cable, rapidly warming the driveway and keeping it clear of snow and ice. The system shuts off automatically after the storm. Electric radiant snow melting systems have an extremely fast response time, operate silently, and are maintenance free – and there are several options to choose from when considering a radiant snow melting system. There’s really no better, or easier way to keep your driveway clear of snow and ice during the winter than with a radiant heated snow melting system.
So, instead of shoveling for hours after a Nor’easter or powerful lake effect storm, you can spend time relaxing inside with your family. The peace of mind that comes with making a smart purchase is invaluable right now. We all look for ways to ride out recessions and worrisome economic climates, but you can still enjoy some of the finer things in life by making wise investments in quality products.
Installing a Heated Tile Floor (Part II)
(NOTE: This article is intended only as a general guide for installing a heated floor. For detailed installation instructions, refer to your system’s installation manual. Warmzone also offers an abundance of radiant heat documentation, illustrations, and installation guides online for your convenience.)
If you are replacing your existing floor with a new, radiant heated tile floor, then naturally, step one is to tear out the old floor surface. (In many cases, you can actually install a heated floor over an existing tile surface, but that often presents problems with door clearances and what not, so for simplicity, we’ll stick to removing the old floor.) Once your old surface is removed, make sure you have no sharp objects protruding from the subfloor and clear the surface of all dirt and dust. Next, lay out your ComfortTile heating element.
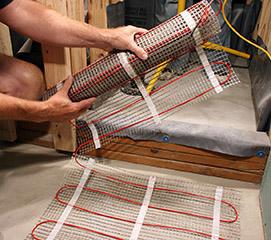
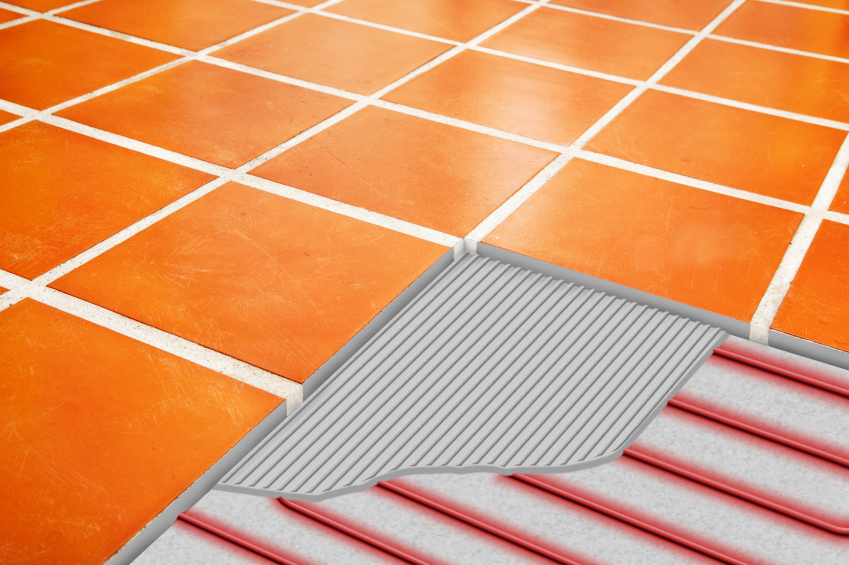
The ComfortTile heating mats feature heat cable that is pre-spaced and attached to an adhesive-backed fiberglass mesh that can be easily rolled out during installation. To make turns when laying out the floor heating mats, simply cut the mesh backing and turn the mat accordingly, (see photo). Never cut or damage the heat cable.
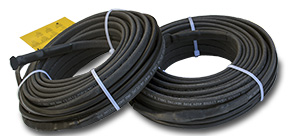
When installing the heat cable off the spool, the cable is secured to the floor using thin metal strips (cable straps) that are nailed or screwed to the floor. These straps have small tabs in them where the heat cable is placed. Simply bend the tab over the cable to secure it.

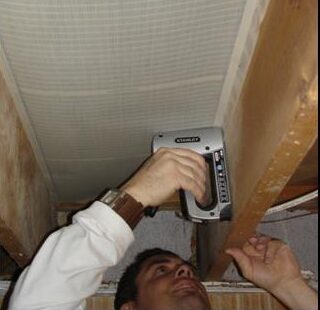
To install the floor sensor, cut a channel approximately 10 mm (¼-½-inch) deep and about an inch wide in the wall and about 3½ feet out into the subfloor. (This groove runs from the wall-mounted thermostat down to the heat cable in the floor.) Glue the flex pipe for the sensor into this channel and seal the end of the pipe with a piece of tape. Run the wire from the floor sensor up to the thermostat. (It is recommended to have a qualified electrician complete the floor heating system’s wiring.)
Once the cable and sensor are secured, you can install the tile. Using a large notched trowel, apply thinset directly over the heat cable. Another method is to pour a layer of self-leveling lightweight concrete over the heating mats. After that sets, simply apply the tile on the surface. This method is usually preferred among tile setters as it offers more protection for the heating cables when you are installing the tile.
We live in an age of available information for do it yourself people. Imagine the difference you can make in transforming that cold floor into one of extreme comfort. A small radiant heated floor project could be done in a day or two, but the comfort will last a lifetime.
ComfortTile floor heating systems from Warmzone are among the best in the industry and will provide you with reliable, energy-efficient, maintenance-free operation. You’ll not only increase your comfort, but the value of your home as well.